
A complete step-by-step guide for faster, gentler, and more thorough cleaning
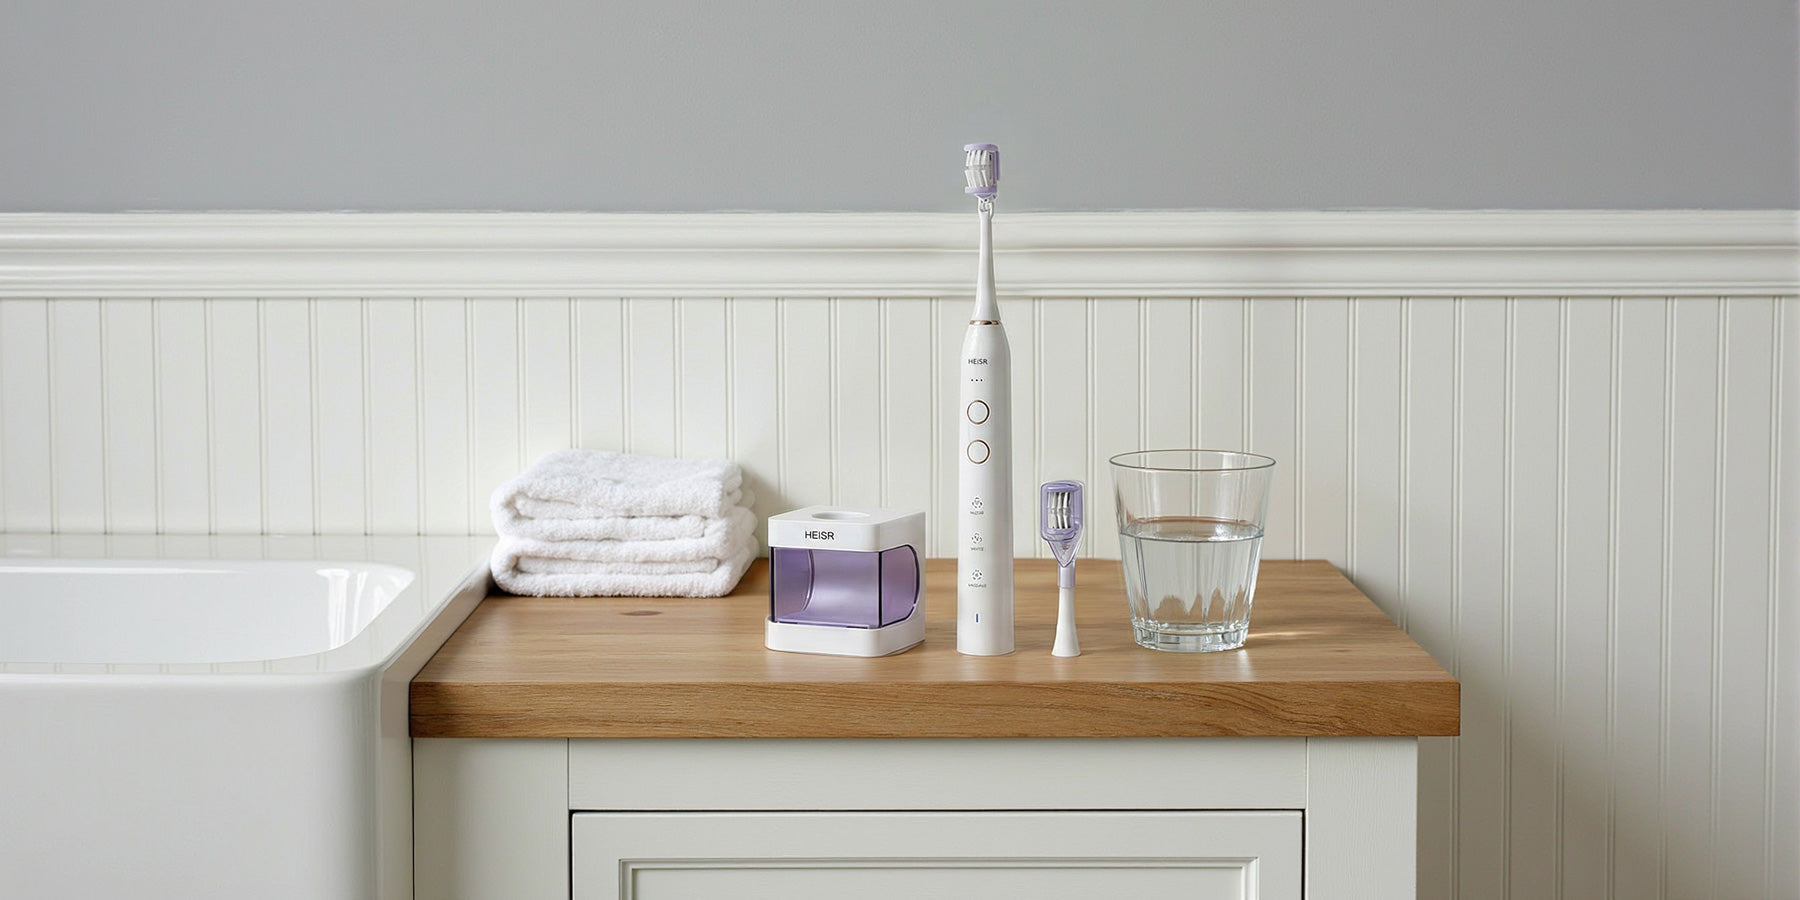
If you’ve just unboxed your Heisr three-sided electric toothbrush, this guide will help you get the best results from day one.
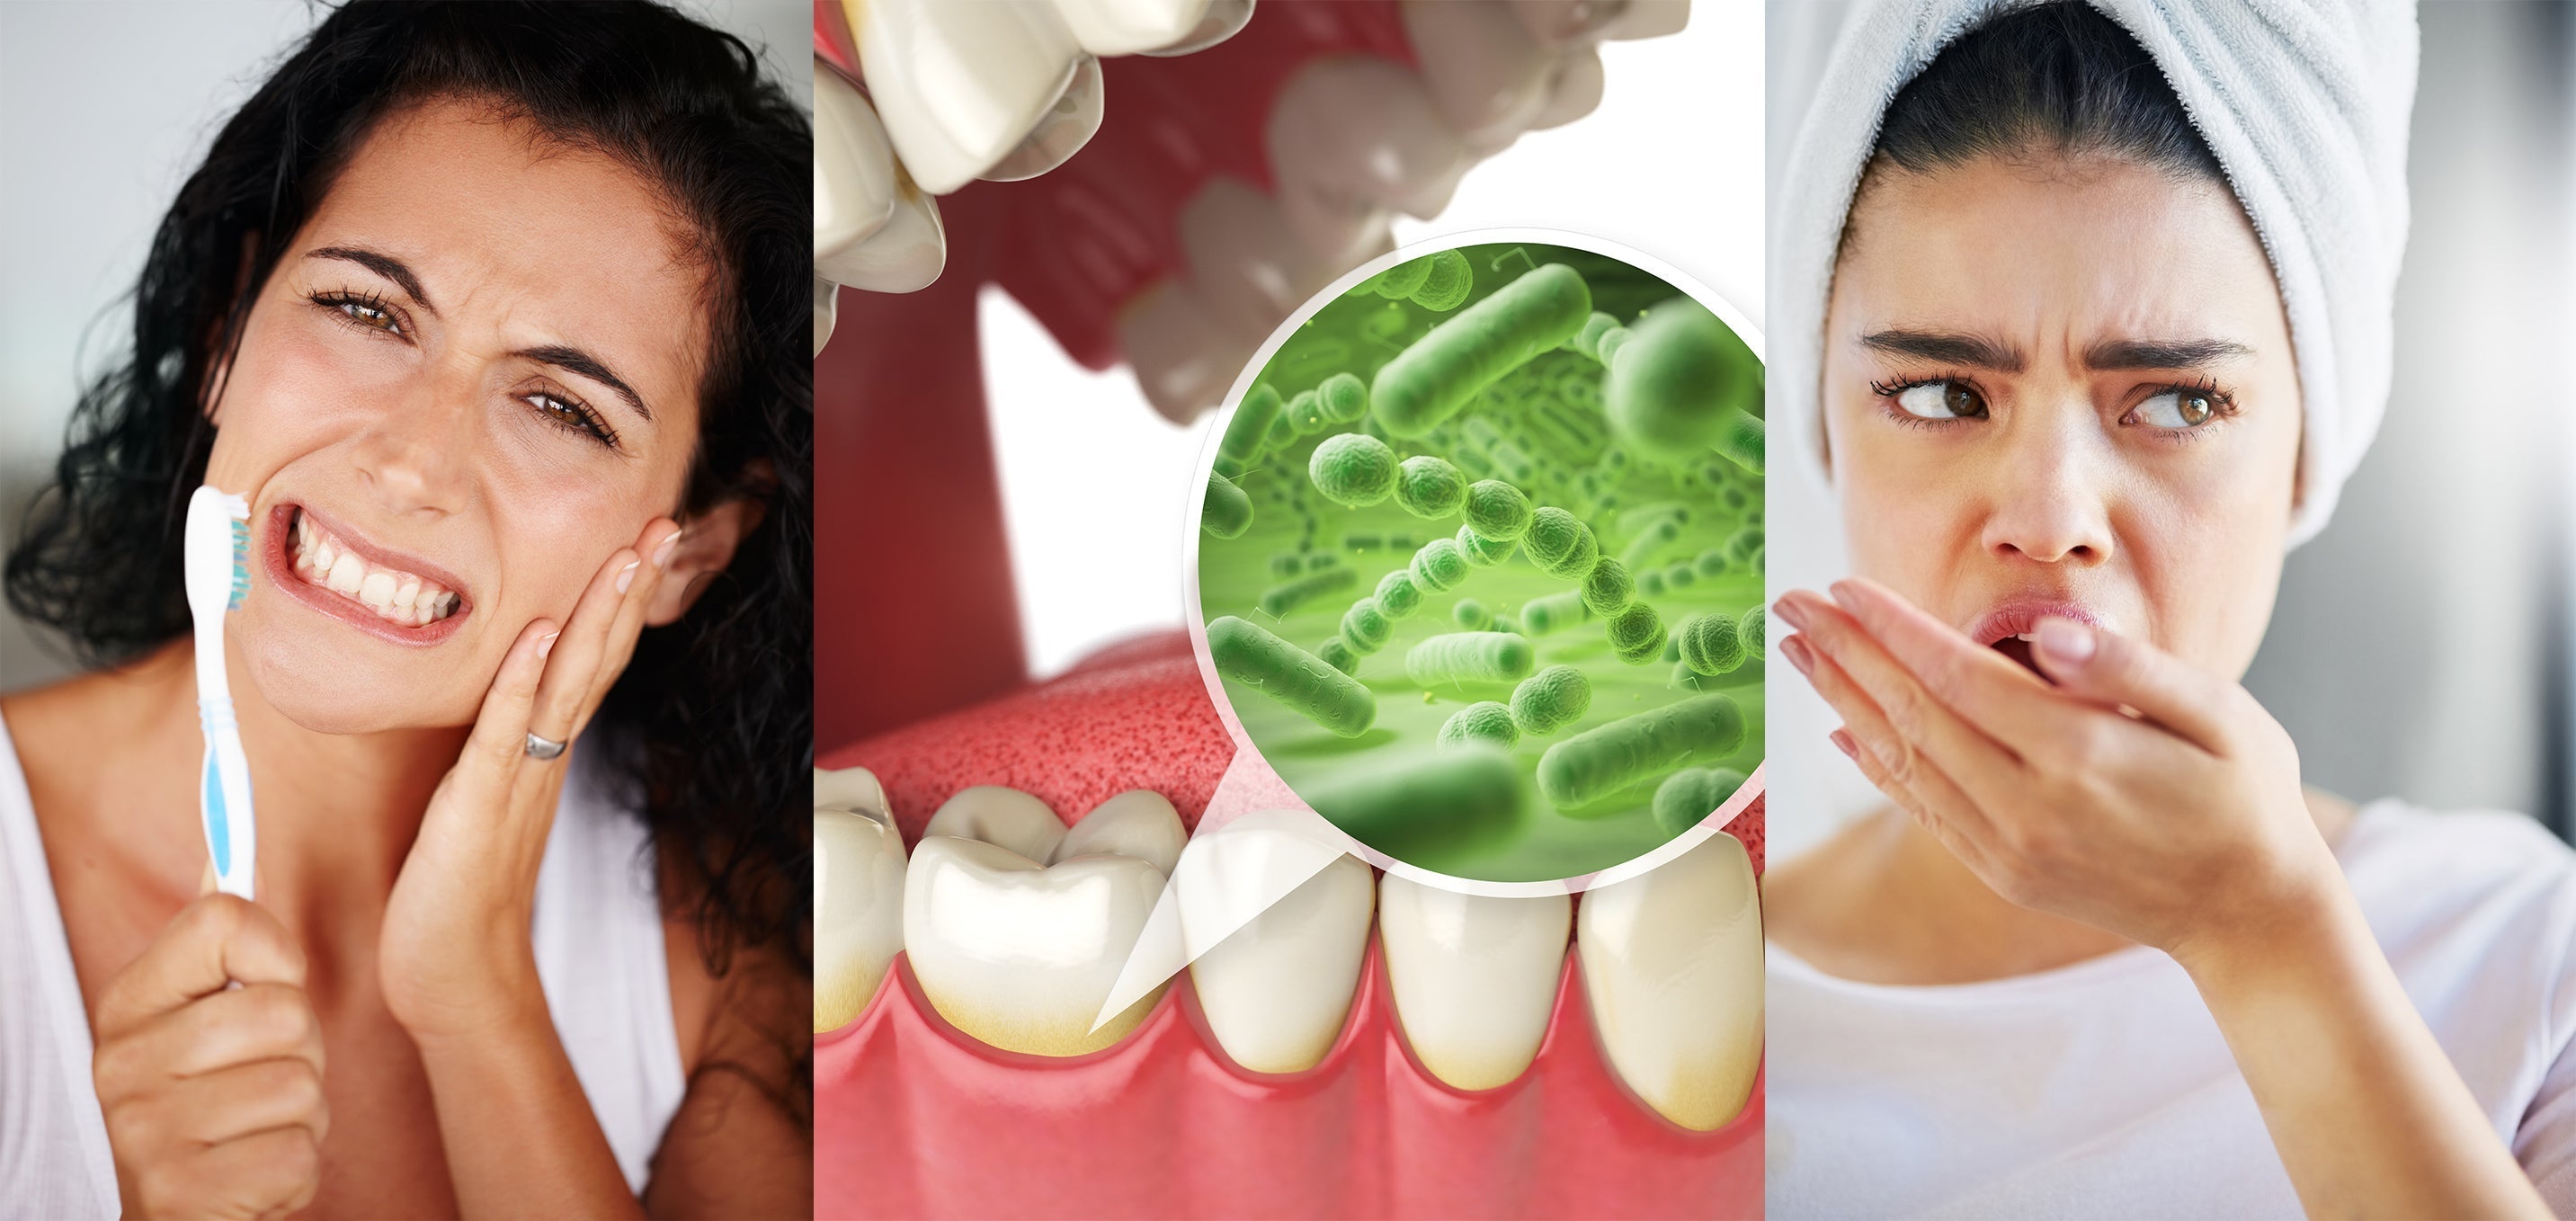
Unlike traditional toothbrushes that clean one surface at a time, Heisr’s wrap-around brush head cleans the inner, outer, and chewing surfaces simultaneously—especially the gumline areas most people miss.
Follow the steps below to set up, brush correctly, and care for your toothbrush.
1. Getting Started: Set Up in Under One Minute
Attach the brush head correctly
-
Align the bristles so they face the front of the handle
-
Insert the drive shaft into the opening at the bottom of the brush head
-
Push gently until it’s fully seated
⚠️ Important:
Leave a ~0.5 mm gap between the top of the handle and the brush head.
This small space is intentional and ensures proper vibration and cleaning performance.

Rinse before use
-
Wet the bristles under running water before every brushing session
This helps distribute toothpaste evenly and improves comfort on first contact.
Apply toothpaste (the right way)

-
Rotate the brush head 90°
-
Apply a pea-sized amount of toothpaste to the center of the bristles
-
Rotate the head back to its original position
💡 Tip: More toothpaste does not mean better cleaning. A small amount works best with the three-sided design.
2. The Heisr Brushing Method: Gumline First, Not Pressure
Traditional brushing relies on scrubbing.
Heisr works differently—gentle contact + correct placement does the work for you.
Step 1 — Start with the lower front teeth

-
Hold the brush so the head faces downward
-
Rest the bristles around your lower incisors
-
Select a comfortable intensity and mode
Let the brush wrap around the teeth—no pressing or sawing motion needed.
Step 2 — Glide along the gumline

-
Pause on the front teeth for 2–3 seconds
-
Slowly glide left and right along the gumline toward the molars
-
Repeat 2–3 gentle passes
The three-sided head cleans all surfaces at once, so avoid scrubbing. Light contact is enough.
Step 3 — Flip for upper teeth

-
Rotate the brush head 180°
-
Repeat the same gentle motion along the upper gumline
⏱️ Timing:
Most users finish in about 30 seconds.
If your dentist recommends longer brushing, simply run two cycles back-to-back (≈60–120 seconds).
3. Pro Tips for Best Results
-
Use fluoride toothpaste unless your dentist advises otherwise
-
If you have sensitive teeth or gums, start with:
-
Lower intensity
-
Shorter passes
Increase gradually after about one week
-
-
Do not bite down on the brush head
-
Light gum bleeding may occur during the first few uses—this often means areas that were previously missed are now being cleaned
⚠️ If bleeding continues or feels uncomfortable, stop use and consult your dentist.
4. Daily Cleaning & Care
Clean the brush head (after every use)
-
Keep the brush turned ON
-
Rinse under running water
-
Rotate the head 90° to flush away toothpaste residue
Clean the handle
-
Rinse lightly if needed
-
Wipe dry with a clean cloth
-
Store on a flat, dry surface
-
Avoid direct heat or prolonged moisture
5. Charging Your Heisr Toothbrush
Your Heisr toothbrush is pre-charged at the factory and can be used right out of the box.
When the battery runs low, the power indicator on the handle will alert you.
⚠️ Flashing red light = battery low. Please charge before next use.
Choose Your Version
Heisr is available in two charging versions.
Please follow the instructions that match your product.
Upgraded Version — Magnetic Charging Base
How to charge
-
Attach the magnetic charging tip (metal contacts) to the matching spot on the charging base
-
Plug the USB end into a compliant USB power adapter
-
Place the toothbrush handle securely on the charging base
Charging indicators
-
Charging: Handle LED breathes green
-
Fully charged: Handle LED turns solid green
-
The base’s ambient light may illuminate during charging
Cleaning the charging base
-
Remove the magnetic charging tip and base cover
-
Wipe with a well-wrung damp cloth
-
Allow to dry completely before use
⚠️ Do not rinse the charging base under running water.
After charging
-
Once fully charged, unplug the cable
-
Store the charging accessories in a dry place
Basic Version — Direct Cable Charging (No Base)
How to charge
-
Open the silicone waterproof cover at the bottom of the handle
-
Connect the Type-C charging cable to the handle
-
Plug the USB end into a compliant power adapter
⏱️ Full charge time: approximately 2.5 hours
Charging indicators
-
Charging: Handle LED breathes green
-
Fully charged: Handle LED turns solid green
After charging
-
Unplug the charging cable
-
Close the silicone cover securely to maintain waterproof protection
⚠️ Do not charge while brushing or rinse electrical parts under water.
Battery Care Tips
-
Charge the toothbrush when the red indicator flashes
-
Avoid over-charging or leaving the cable connected long-term
-
Always dry the handle before charging
-
Store charging accessories in a clean, dry environment
6. When to Replace the Brush Head
Dental professionals generally recommend replacing brush heads every 2–3 months, or sooner if:
-
Bristles splay or lose shape
-
Cleaning performance feels reduced
Regular replacement ensures optimal hygiene and performance.
Final Reminder
Heisr is designed to make brushing faster, gentler, and more complete—especially in areas most people miss with standard toothbrushes.
Focus on placement, not pressure, and let the three-sided design do the work.

Share:
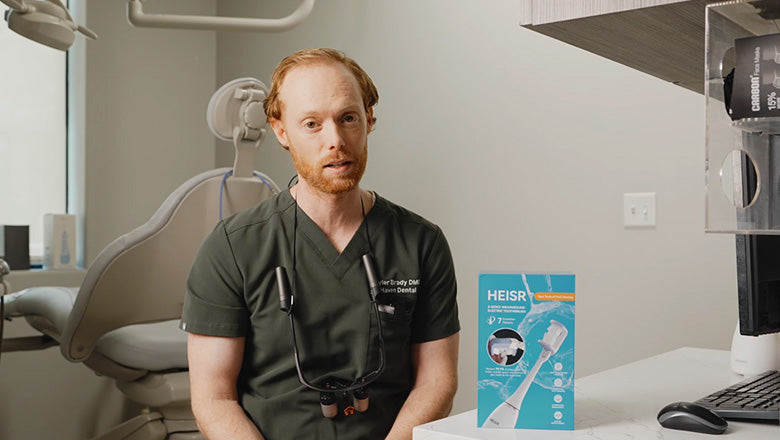
Benefits of the Heisr Three-Sided Electric Toothbrush
What Happens If You Don’t Brush Your Teeth Properly?